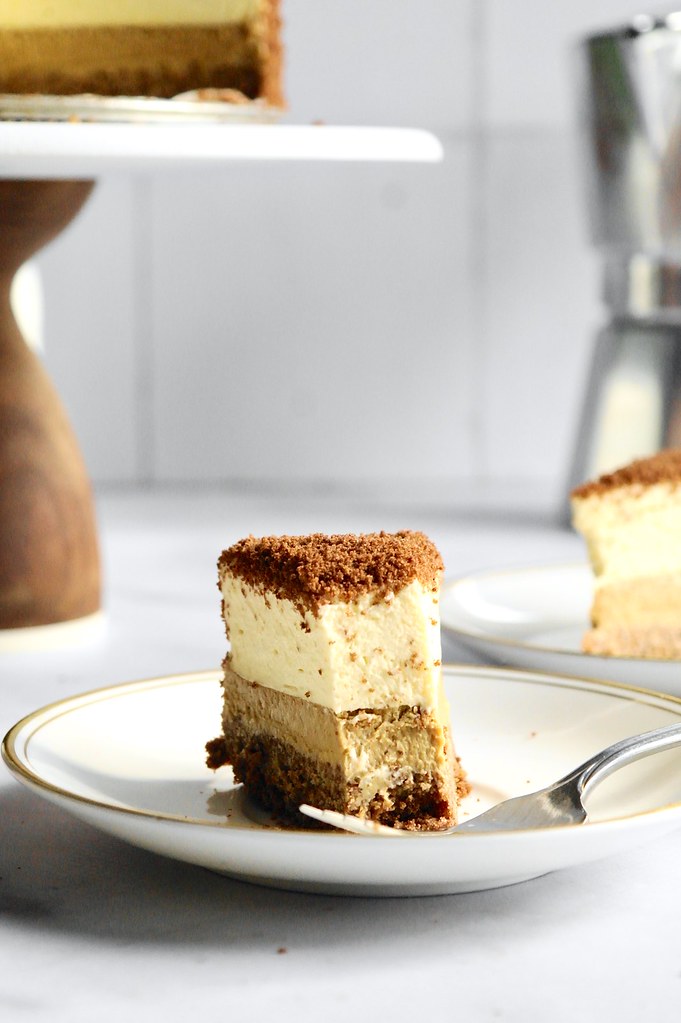
earl grey chestnut basque chesecake

earl grey chestnut basque cheesecake

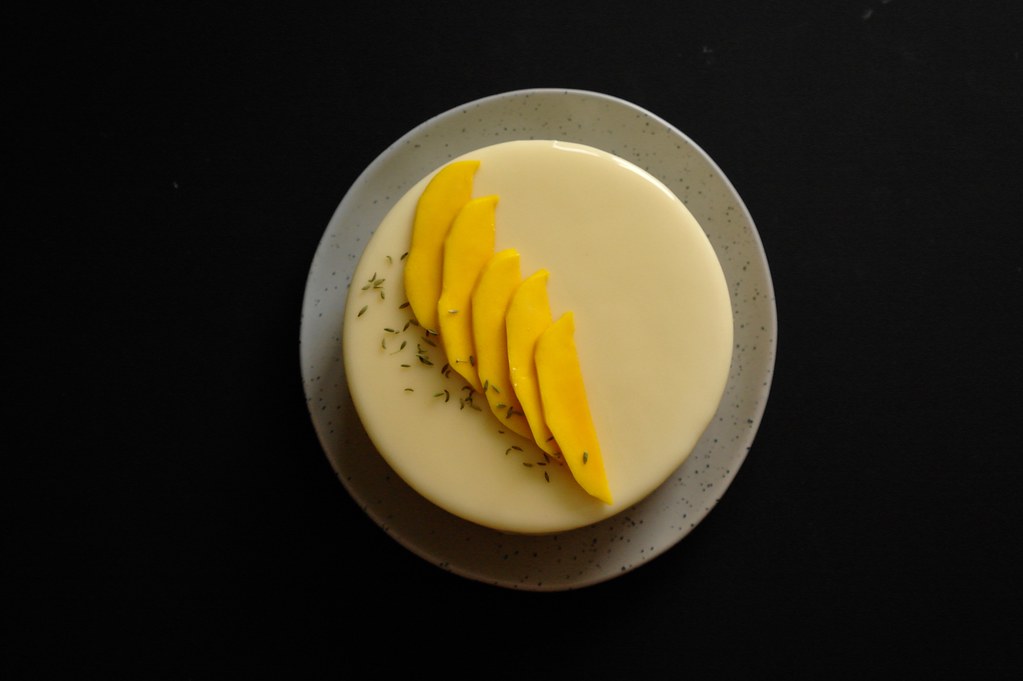
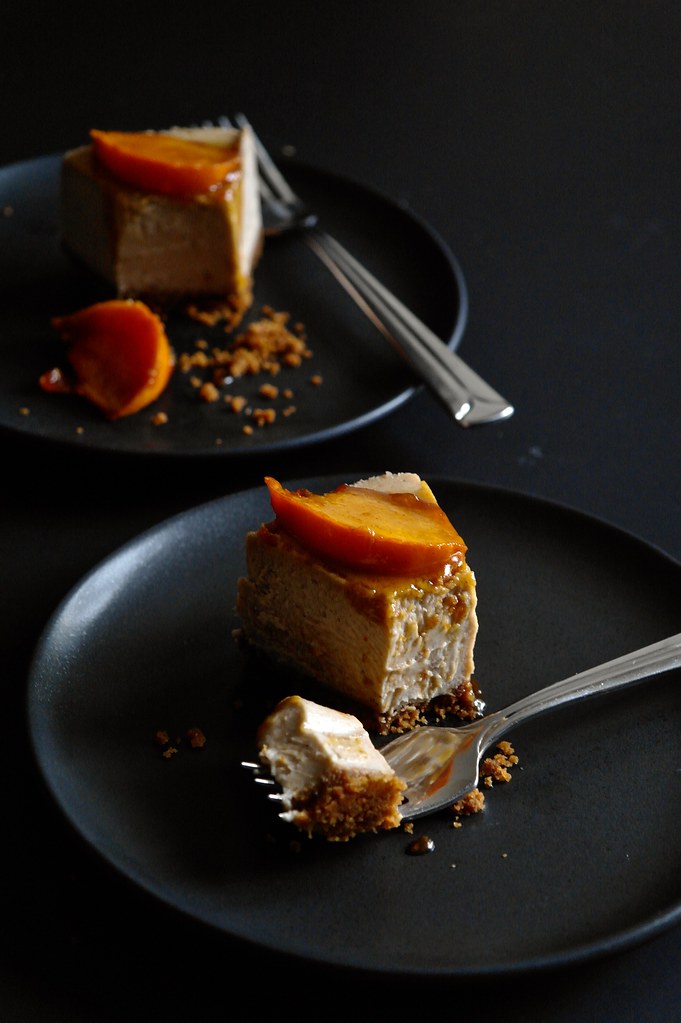
Usually I think of pairing earl grey with bright fruity flavours (citrus! raspberry! rhubarb!), but in this basque-style cheesecake, I went the complete opposite with chestnut. It’s a combo that came to me on a whim, but I really enjoyed it!

The first time I made this cake, I felt doubtful that the earl grey would come through. But it does, thanks to a lot of earl grey and a long infusion of the cream. With about half of the cream cheese subbed for chestnut puree, the chestnut does not get lost either. Using homemade chestnut puree does result in a less creamy consistency – the cheesecake will be soft, but firm, and not the soft silkiness of just cream cheese; but for me, I think it’s an adequate tradeoff for all the chestnut flavour!

earl grey chestnut basque cheesecake

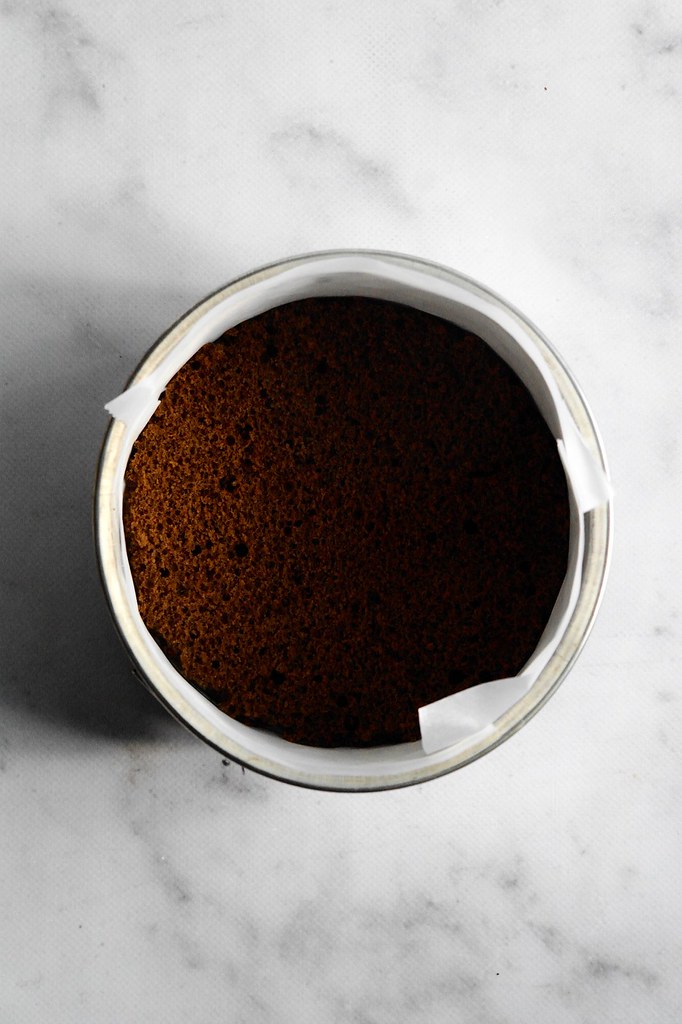
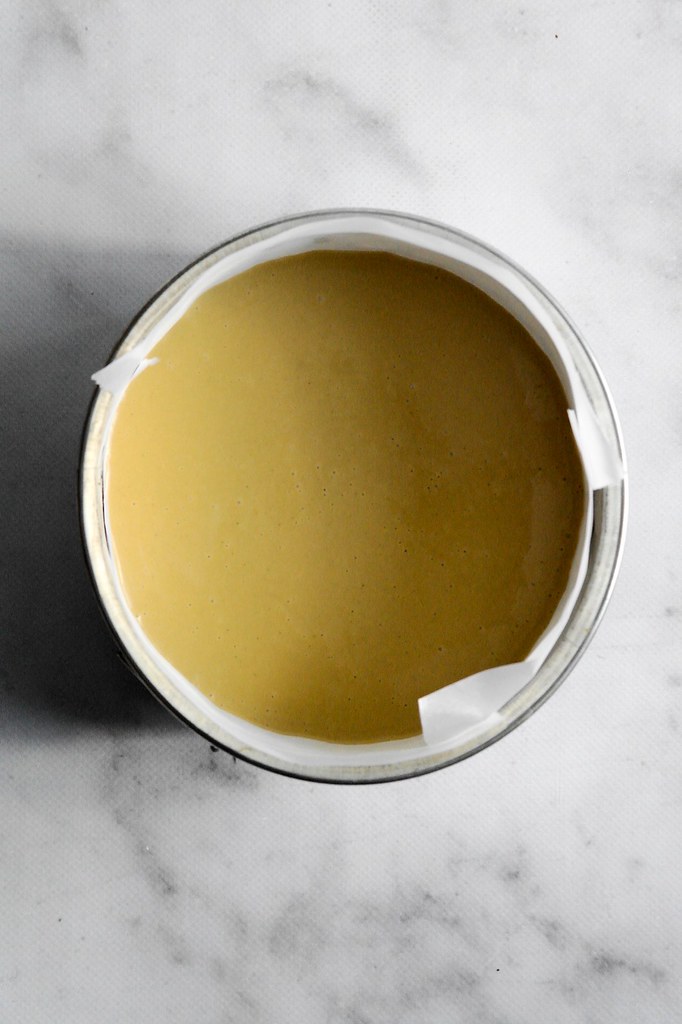
For this cheesecake, I’ve lined the bottom and sides of a cake tin separately with parchment paper as it gives smoother and darker – but also sort of overbaked – edges compared to the usual parchment paper crumple, but either works. I do love the informality of the crumpled parchment, and it helps insulate the edges from overbaking!

I also use a different baking protocol than most recipes, which I’ve found necessary to get a nice darkened top and soft centre for a smaller and lower sugar basque cheesecake. I’ve found the cake should bake for about 30 minutes total (at least in my oven) for a soft centre, but with the last few minutes spent under the broiler. I also make sure to bake the cake on the middle rack, not lower third (standard for most baked goods) for more top browning. But of course as ovens vary, pay attention to how your cake is looking and adjust the process as needed.

Every time I’ve baked this cheesecake I’ve gotten cracks on top – I think it may be because pureeing the chestnuts introduces quite a bit of air that’s hard to get rid of (you may be able to avoid this by substituting about 250g commercial chestnut puree?). However, I don’t mind – this is already a pretty rustic cheesecake, and the cracks may be just more character?! Just be warned that they’ll likely appear!

earl grey chestnut basque cheesecake

earl grey chestnut basque cheesecake

  • Servings: one 7-inch cake
  • Print

A cheesecake with a surprising amount of chestnut and earl grey flavour. A note on the texture: because this cake is half chestnut puree, it’s soft, but firm, and not silky, with a more classic baked cheesecake texture.

equipment: one 7 to 7 1/2″ round cake tin at least 2″ tall

infused cream

  • 300g heavy cream
  • 12g loose leaf earl grey tea

chestnut puree

  • 200g cooked peeled chestnuts (most convenient is to use the ones that come in foil packets)

cheesecake

  • 300g block cream cheese
  • 10g cornstarch
  • 150g sugar
  • 1/2 tsp kosher salt
  • 3 large eggs

To infuse the cream, combine the cream and tea in a container and place it in the fridge overnight or for up to 48h for a cold infusion. Pass through a sieve and press to extract as much cream as possible from the leaves. Measure the resultant cream and top up with additional cream to 250g.

For the chestnut puree, place the chestnuts in a saucepan and cover with water. Bring to a simmer, cover and let simmer away for 15 minutes or until chestnuts are soft when pierced with a fork. Scoop out into the bowl of a food processor along with about 1/4 cup of the cooking water. Puree, scraping down the sides as needed, until a smooth paste is formed, adding more water if necessary.

For the cheesecake, preheat the oven to 480F with a rack set in the middle of the oven (while the usual standard for baking is lower third, in this case the middle rack will help the cheesecake brown much better). There are a couple ways to prepare the cake tin. The classic method is to line bottom and sides with a single square of parchment paper (embrace the crinkles!) just by pushing it into the tin. Or what I’ve done for this cheesecake for a rounder appearance (though the edges do get overbaked…): butter a 7 1/2″ to 7″ round cake tin (at least 2″ tall). Line the bottom with a round of parchment paper and the sides with a collar of parchment paper. Optionally, to help you pull out the cheesecake you can put two strips of parchment paper at right angles under the round of paper so that the ends stick out (a technique from here), but this is a pretty hardy cheesecake which is fine to invert out of the pan.

In a large bowl, cream the cream cheese until smooth to get rid of any lumps. Then add the chestnut puree, and mix until smooth. In a small bowl, stir together the cornstarch, sugar and salt. Add the cornstarch mixture to the cream cheese and combine. Beat the eggs in another small bowl until smooth, and add, a bit at a time, to the cream cheese mixture. Place the 250g infused cream in a microwave safe measuring cup or dish and heat until it begins to bubble. Stir into the batter (the hot cream helps any bubbles come out).

At this point you can pass the batter through a strainer to remove any chestnut bits (optional – it does make the cheesecake slightly smoother). Transfer the batter to the prepared tin and rap on the counter to pop large bubbles.

Bake the cheesecake for about 30 minutes total, or until it is set around the edges but wobbly in the middle when shaken. Check the cheesecake at the 26 minutes point to how the top is browning. If it is not getting quite dark, turn on the broiler. In my oven, this cake needs about 3-4 minutes under the broiler while on the middle rack to achieve a nice darkened surface. Watch the cake and rotate occasionally to get even browning. Once it is browned, take it out.

On the other hand, if the cake has blackened before the 30 minute point, turn off the broiler (return to fan or normal bake at 480F) and place some foil overtop of the cake. Once the full bake time has been reached and the cake is set on the edge, but nice and jiggly in the middle, remove from the oven.

I prefer to let the cake cool and then chill in the fridge completely before removing from the pan and slicing.

strawberry rhubarb cheesecake bars

strawberry rhubarb crumble cheesecake bars

An admission: maybe I don’t really like gardening. I do love the idea of it and so I like to pretend it’s a hobby of mine, despite that I’ve been avoiding any gardening work for ages. The realization that perhaps I am not as much of a garden fan as I had thought/wistfully dreamed happened while I was doing some weeding this weekend and was forced to come to face with the fact that I am very floppy and useless from spending all day inside.

Of course maybe I’m just sulking because right now gardening is 90% weeding with minimal harvest. But as for what we are harvesting: that is primarily rhubarb! Not to mention that the rhubarb is pretty simple, self-reliant and hardy (all the better to balance my floppiness and uselessness with).

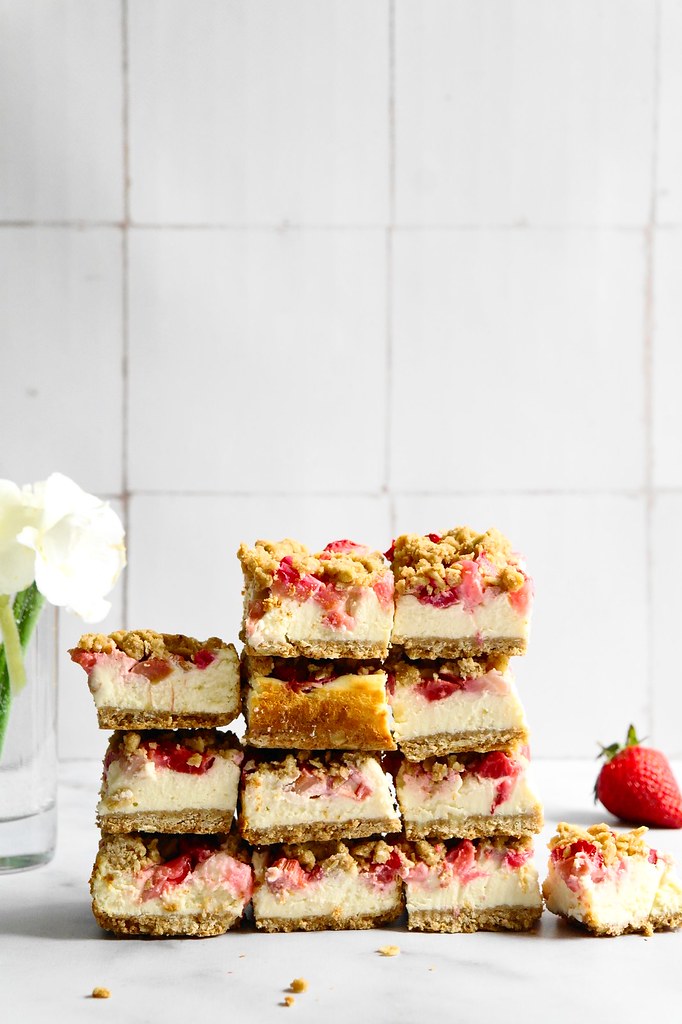
strawberry rhubarb crumble cheesecake bars

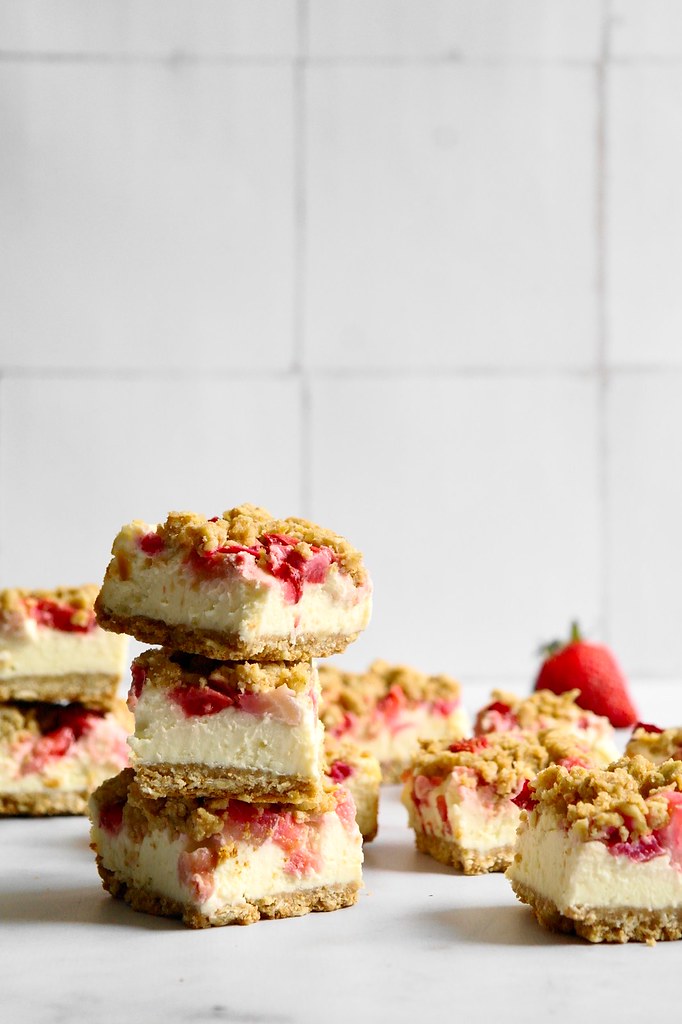
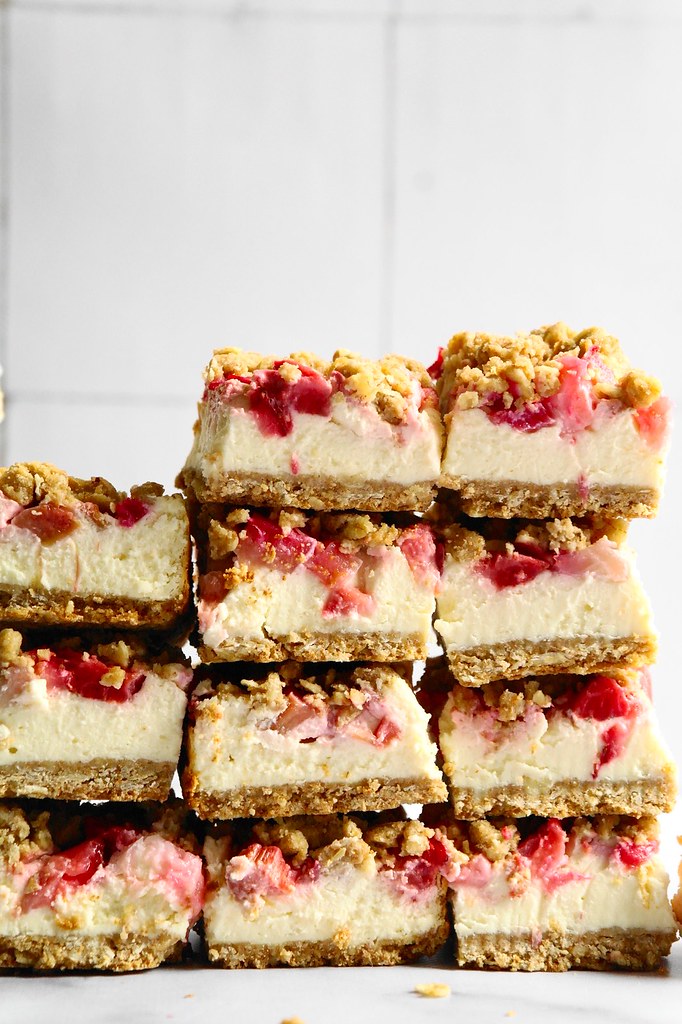
This has been one of my favourite recent rhubarb bakes: thick, creamy cheesecake squares dotted with strawberries and rhubarb and a brown sugar and oat crumble.

These bars were inspired by a recipe from Ed Kimber and my mum’s strawberry rhubarb crumble. It took a few tries to get them to where I wanted them: switching the base and crumble to an adapted version of my mum’s crumble recipe, thickening the layer of cheesecake and adding additional fruit. I did try flavouring one version with rosewater, but that was quickly discarded in favour of going full force with my mum’s crumble flavours: cinnamon in the crumble and just vanilla in the cheesecake.

For another strawberry rhubarb crumble inspired bake, there is also this ice cream. And if you’re feeling hung up on the rosewater, I do love the pairing in these cream puffs!

strawberry rhubarb crumble cheesecake bars

Update notes (Jun 2023):

  1. Due to a number of requests, the recipe was updated Jun 2023 to have volume measurements. I went through and retested the recipe using the volume measurements to make sure it would work, though weight will always be more accurate! In my experience different cups/spoons sets can be a bit different.
  2. I also tested increasing the amount of fruit from 115g each to 150g each as was suggested in a comment. This increased amount of fruit works as well! I also upped the tapioca starch to 1 1/2 tsp. (Volume-wise, 150g was about 1 1/4 cups chopped rhubarb and a generous 1 cup chopped strawberries.)
  3. Baking Blocks also shared an amazing video of the recipe! Check it out on instagram here.

strawberry rhubarb cheesecake bars

  • Servings: 16-25 squares
  • Print

The crumble is based on my mum’s recipe, while the cheesecake filling and overall bar concept/structure is adapted from these raspberry cheesecake bars by The Boy Who Bakes (and is also a recipe from his book, One Tin Bakes!). If you’d like to see a video of this recipe in action, check out this one by Baking Blocks.

base & crumble

  • 112g butter (1 stick), at room temperature
  • 43g brown sugar (1/3 cup, lightly packed)
  • 1/2 tsp cinnamon
  • 1/4 tsp kosher salt
  • 125g whole wheat flour (about 1 cup)
  • 33g rolled oats (1/3 cup)
  • 33g quick oats (1/3 cup)

cheesecake layer

  • 450g block cream cheese, at room temperature (16 oz/2 bricks)
  • 75g granulated sugar (3/8 cup, which can be approximated by 1/4 cup + 2 tbsp OR 1/2 cup – 2 tbsp)
  • 70g greek yoghurt (about 1/3 cup)
  • 20g heavy cream (1 tbsp + 1 tsp)
  • 1 tsp vanilla extract
  • 1 1/2 large eggs (the easiest way to do this is by weight – half an egg is 25g, but if you don’t have a scale, try whisking an egg and measuring out 1 1/2 tbsp for the half egg)
  • 1 1/2 tbsp cornstarch

fruit

  • 115g chopped rhubarb (about 1 cup)
  • 115g chopped strawberries (about 1 cup)
  • 2 tsp granulated sugar
  • 1 tsp tapioca starch

for the base, preheat the oven to 350F. Butter an 8″ square baking tray and line with a parchment sling.

Cream the butter with the brown sugar, cinnamon and salt, then mix in the flour and oats until combined and the mixture holds together in clumps. Reserve 1/3 of the mixture for the top crumble. Take the remaining 2/3 of the mixture (about 220g), break it into clumps, and evenly distribute them into the bottom of the prepared tray. Use your fingers or the bottom of a glass (lightly floured if needed to prevent sticking) to firmly pack it down into an even layer. This makes for a thin layer so if needed, you can add a bit more.

Prick the base all over with a fork and pop in the freezer for 10 minutes to firm and chill. Bake for about 15 minutes or until the bottom crust begins to lightly brown. Set aside to cool slightly.

While the base bakes, begin on the cheesecake layer. In a large bowl, cream the cream cheese until smooth and no lumps remain. Mix in the sugar. Then mix in the yoghurt, cream and vanilla extract. Follow by beating in the eggs. Lastly, sift the cornstarch overtop and mix until combined.

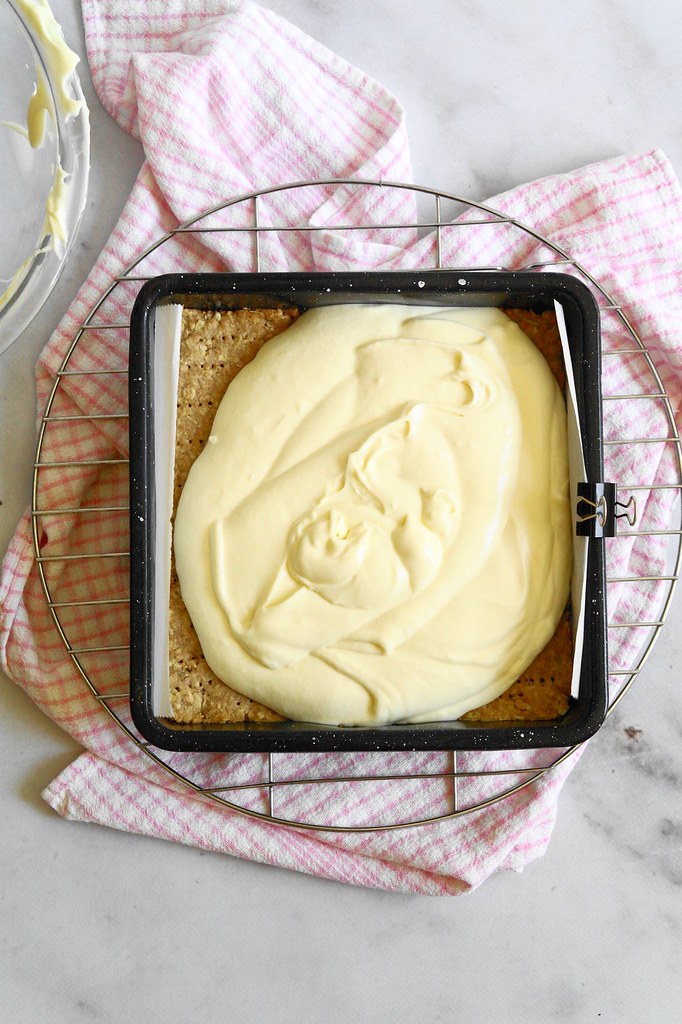
Pour the cheesecake layer over the partially baked crust and spread into an even layer.

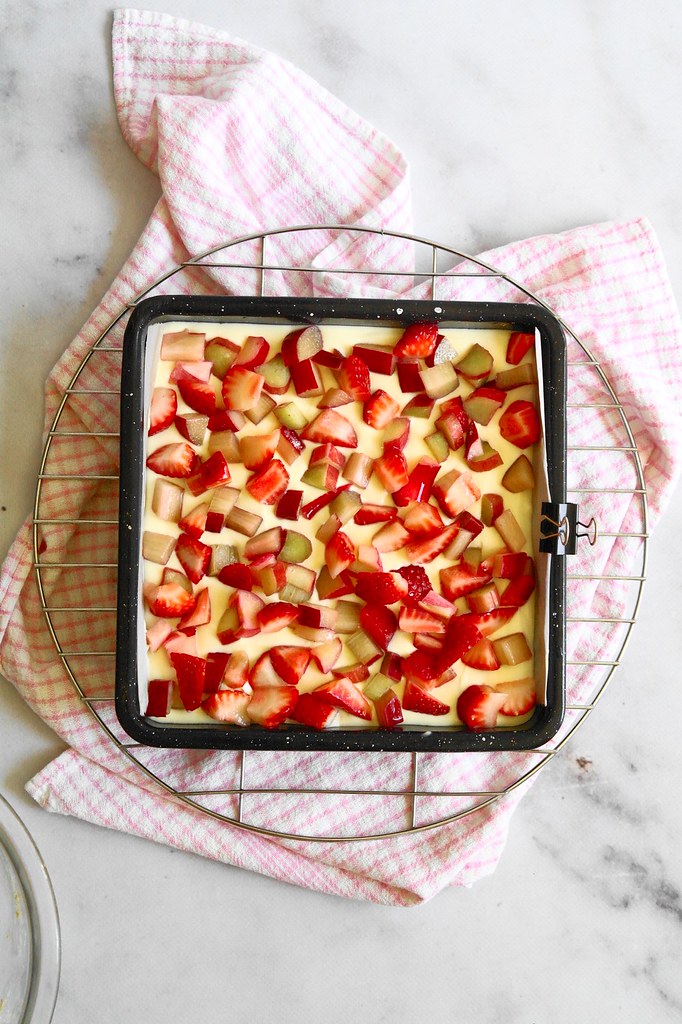
Next, prepare the fruit. Stir together the rhubarb, strawberries, sugar and tapioca starch. Spoon evenly overtop of the cheesecake.

Finish with the crumble and bake. Break up the remaining 1/3 of the crumble mixture into small crumbs and scatter overtop of the fruit.

Return the pan to the 350F oven and bake for another 30-35 minutes or so, or until the crumble is browned, and the cheesecake layer is mostly set (it’s okay if the middle still has a bit of a jiggle).

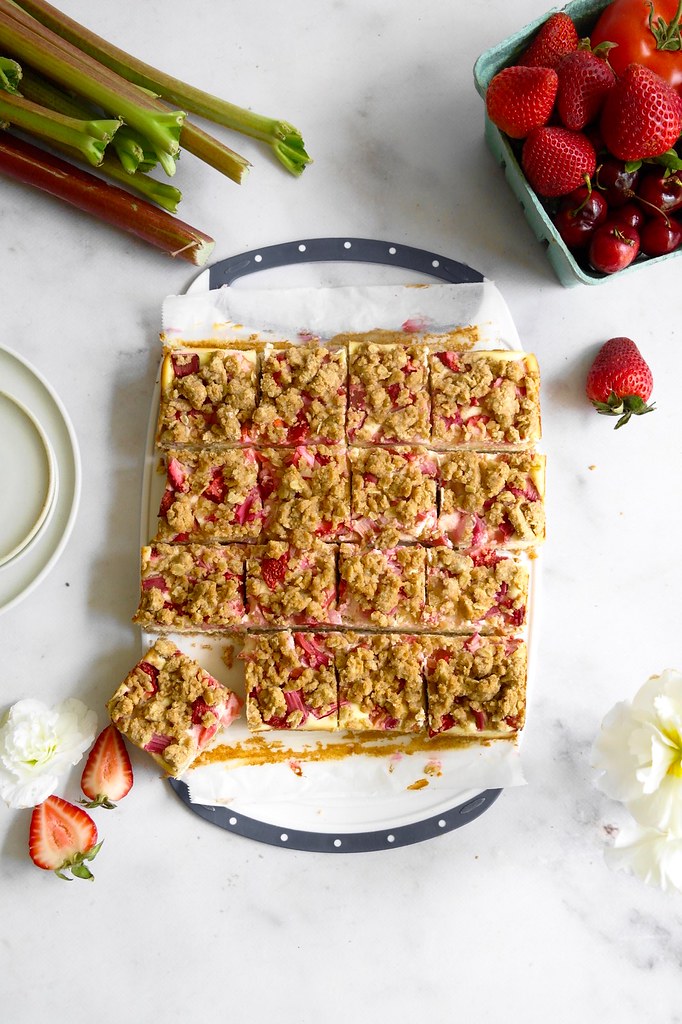
Let cool, then refrigerate for at least four hours or overnight to completely chill and allow the cheesecake to set. Run a knife along the two edges baked directly against the pan to loosen the bars first before removing. Cut into 16 or 25 squares.

tiramisù double fromage

tiramisu double fromage

I have a friend who really likes tiramisù and so over the years I had made a couple of tiramisù-themed birthday cakes. That’s where it started. I myself though knew that I felt pretty neutral towards the utter majesty that is tiramisù – creamy clouds of mascarpone cream, the sweetness-moderating bitterness of coffee and cocoa powder, the way the sharp tang of alcohol cuts through the cream… Neutral. So very, very neutral.

But then I noticed I was making tiramisù-themed things for no specific occasion. And I wanted to either remake desserts with tiramisù flavours or remake tiramisù with a variety of other flavours… and so eventually I just had to come to terms with it: I love tiramisù.

tiramisu double fromage

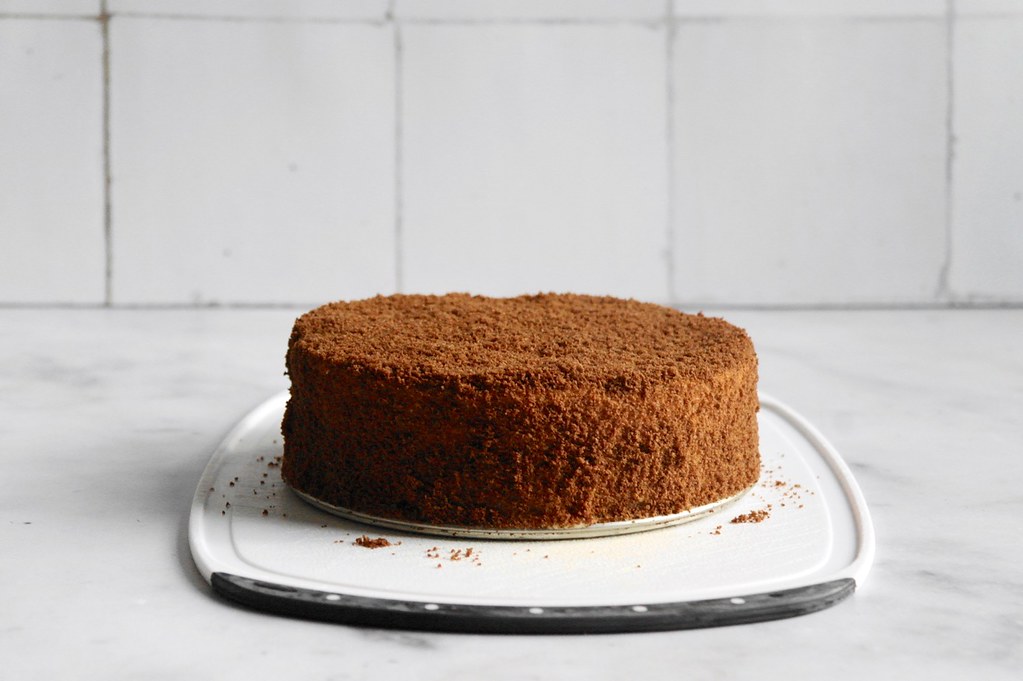
And so here we are again… this time with one of my new dessert loves: the double fromage. If you’ve been to Le Tao, a Japanese cheesecake store which has started opening up some shops in Canada, this is very much inspired by them. The “double” in double fromage refers to the two layers of cheese components: a cheesecake, topped with a mascarpone mousse. This all sits on a sponge cake base, while crumbled spongecake crumbs make the cute, fuzzy coating.

When you have tiramisù-tinted lens like me, mascarpone screams (or at least quietly cries) tiramisù! This take on a double fromage has a chocolate sponge cake, a coffee flavoured cheesecake, and a marsala-spiked mascarpone mousse.

tiramisu double fromage

While inspired by Le Tao and partially based off of the original recipe (which I found via Bizarre Island), this take is bit different texturally. The original’s baked cheesecake layer has the firmness and slightly coarse texture typical of a baked cheesecake. However, I have been obsessed with making Stella Parks’s super creamy baked cheesecake recipe. Paired with the original mousse recipe, the mousse that was actually a bit firmer than the cheesecake layer below. It made for a bit of a strange combination. In subsequent batches, I adjusted the mousse to make it super soft which was a better combination with the softer cheesecake layer below. This way the fork slides nicely through a slice of cake – right through the mousse, with a tiny bit of resistance as it transitions into the cheesecake layer below.

tiramisu double fromage

tiramisù double fromage

  • Servings: one 7-inch or 16cm cheesecake
  • Print

Sponge cake adapted from Natasha’s Kitchen. Cheesecake adapted from Stella Parks. Mousse (sort of ish) and assembly of the double fromage based on Bizarre Island. I’ve also tried as low as 1/2 tsp gelatin in the mousse which is sufficient, but the 3/4 tsp gives a bit of extra insurance for the structure.

chocolate sponge cake

  • 55g flour
  • 15g cocoa powder
  • pinch of salt
  • 3 large eggs
  • 50g granulated sugar

coffee cheesecake

  • 280g block cream cheese, at room temperature 
  • 1 tsp vanilla extract
  • 5g (1 ½ sachets) instant coffee powder dissolved in 2 tsp hot water (I’ve been using the Starbucks microground one)
  • 75g granulated sugar
  • pinch salt
  • 75g egg (1 ½ large eggs)
  • 42g heavy cream

mascarpone mousse

  • 3/4 tsp powdered gelatin bloomed in 1 tbsp water
  • 2 egg yolks
  • 50g granulated sugar
  • 1 1/2 tbsp marsala (optional)
  • 130g mascarpone
  • 200g heavy cream

outer layer

  • 1/4 cup reserved mascarpone mousse
  • the reserved sponge cake scraps

chocolate sponge cake

Preheat the oven to 350F. Line a 7 to 9″ square pan with parchment paper.

Whisk together the flour, cocoa powder and salt.

Place the eggs in the bowl of a stand mixer. Beat until frothy, sprinkle in the sugar, and then continue whipping until very light and fluffy. They are done when you can draw a figure-eight with a ribbon of batter flowing from the whisk, and it stays on the surface of the batter for at least 10 seconds.

Sift a third of the flour mixture over the egg whites and fold in until no streaks or lumps of flour remain. Repeat twice more until all the flour is incorporated.

Pour the batter into the prepared pan and smooth out with a small offset spatula. Bake the cake for around 25 minutes or until browned and an inserted skewer is removed clean.

This will form the bottom layer of the cheesecake. Grab the 16cm/7″ springform pan you’ll be using and line the bottom and sides with parchment paper. Be sure you line the sides right up to the top of the pan, and even a few cm higher so it can contain all the layers of the cheesecake.

Once the cake is completely cool, trim the crusts from the cake. Use the pan as a guide to cut the cake into a circle the right size. Trim the layer so it is about 1.5 – 1cm tall (I went on the thicker end of this range in version photographed). Save the cake scraps in an airtight container.

coffee cheesecake

Preheat the oven to 250F. Have the springform pan prepared, with the layer of sponge cake in the bottom.

Cream the cream cheese with a wooden spoon until smooth. Add the vanilla extract and instant coffee and stir until mixed. Add the sugar and salt, and stir until just combined.

Whisk the eggs in a small bowl. Add to the cream cheese in a few additions. Be sure to scrape down the spoon as you do so.

Heat the heavy cream in the microwave until it bubbles (watch carefully!). Add this to the batter and stir until combined.

Scrape the batter into the prepared pan. If you see small bubbles rising to the surface of the cheesecake, bounce a spoon across the surface until the bubbles disappear.

Place in the oven and bake for around 35-45 minutes or until only the centre few inches of the cake is wobbly and the internal temperature taken in the middle is at least 145F. Let cool at room temperature, then chill in the fridge overnight. Do not remove the parchment paper – keep it in place as you need it to hold the mascarpone mousse as well.

mascarpone mousse

Bloom the gelatin in the water and then set aside.

In a glass bowl set over a pot of simmering water, combine the egg yolks and sugar together. Whisking constantly, cook the egg yolks until they become thick, light and fluffy and the temperature reaches 140F (it’s important to whisk well so the yolks thicken up as this helps give structure to the mousse). Whisk in the gelatin until dissolved.

Whisk in the marsala, then add the mascarpone, a spoonful at a time. Pass the mixture through a sieve to remove any lumps.

Whip the cream. Whisk a dollop of cream into the mascarpone mixture, then fold in the remainder.

Reserve 1/4 cup of mousse in a container and store in the fridge. Scrape the remaining mousse overtop of the cheesecake and spread into a smooth layer with a small offset spatula. Cover and chill overnight.

outer layer

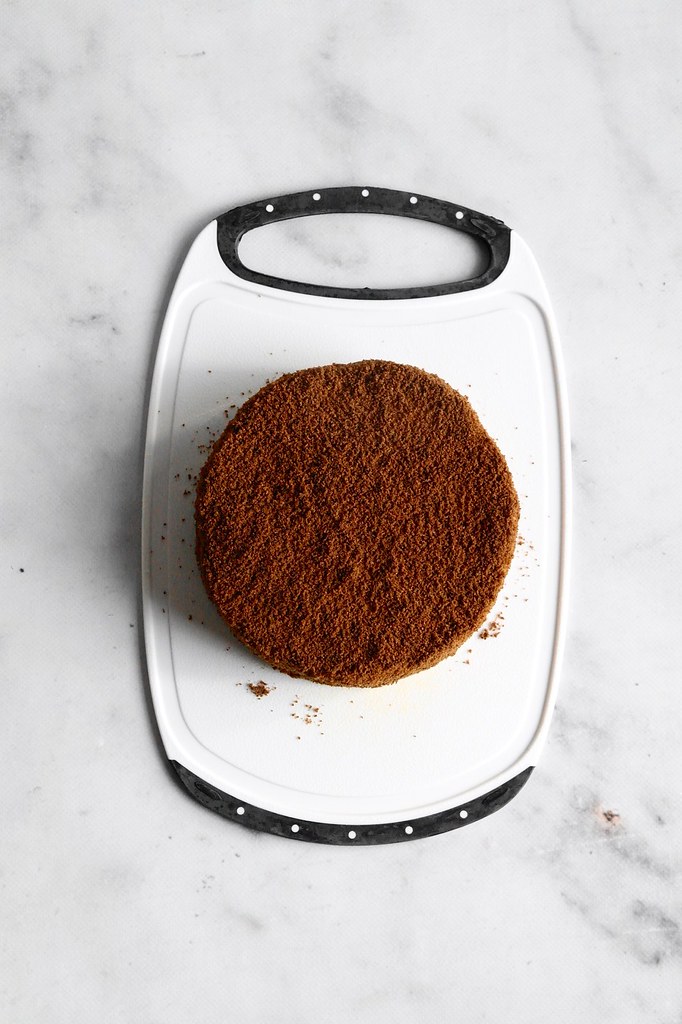
Press the leftover cake scraps through a sieve to form fine crumbs.

Remove the sides of the springform pan and peel the parchment from the sides of the cake. The parchment will have wrinkled and so the sides of the cake will not be smooth, but you’ll be covering it all up so it’s alright! Keep the cake on the bottom of the springform pan so it will have some support and you can lift it up easily.

Warm the reserved mascarpone mousse in the microwave until it loosens (7 seconds was sufficient for me). Use a small offset spatula to spread a thin layer over the sides of the cake.

Take handfuls of crumbs and pat them along the sides of the cake. Sprinkle crumbs on the top surface of the cake. Once your cake is as evenly coated as you can get it, you’re done!

tiramisu double fromage

peach houjicha mousse cake

peach houjicha mousse cake

Earlier in the spring The Alley, a Taiwanese tea chain, (I get too many ideas from bubble tea places) had a houjicha and peach series; my roommate and I longingly stared at the sign in the window as we walked by on our way to the store to stock up on rice and instant ramen. I ended up never trying any of the drinks as the pandemic came into full force soon after, but I’ve been keeping the flavour combination in mind.

Continue reading “peach houjicha mousse cake”

golden beet & cardamom cheesecake tart

golden beet and cardamom cheesecake tart

I recently attended Here are the Fragments, an immersive, self-directed theatre experience at the Theatre Centre about Dr Chauvet, a black immigrant psychiatrist who is diagnosed with schizophrenia later in life. It tackles topics of intersecting identities, as a racialized minority, as a psychiatrist and as a patient, all while bringing attention to the underlying impacts that colonialism and racism can have on health and the treatment patients receive in the health care system.

Continue reading “golden beet & cardamom cheesecake tart”

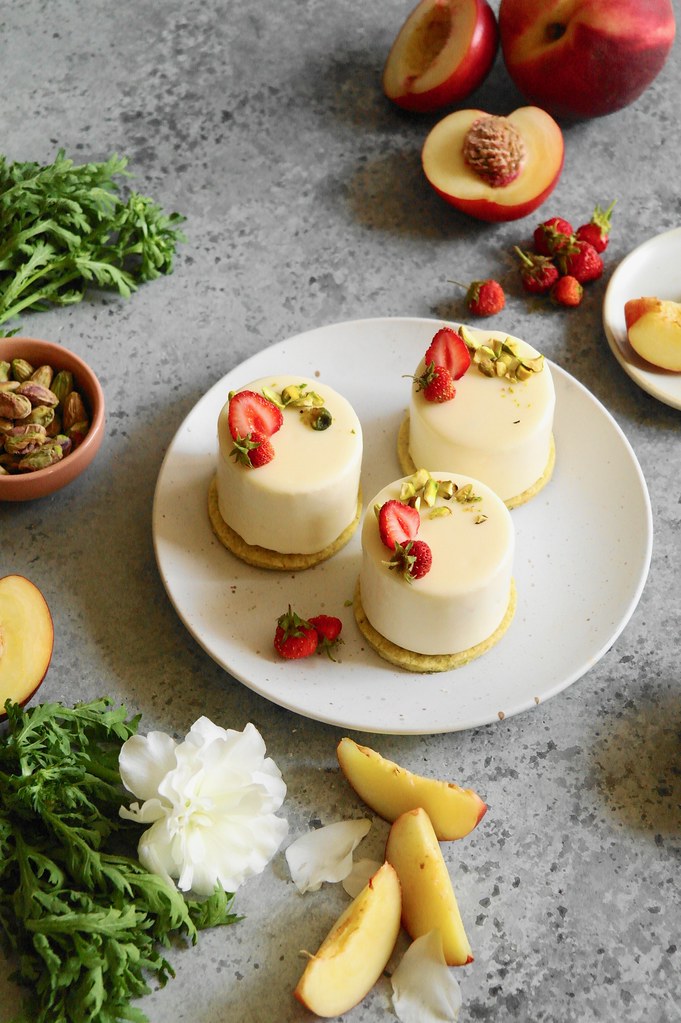
white peach, strawberry & pistachio mousse cake

strawberry, white peach and pistachio mousse cakes

Arriving at a party three hours late (two-thirds of which was semi-intentional, one third of which was a surprise – though given the entire trip was relatively unplanned, why it was a surprise, or upon what the putative ETA was based, was unclear), the main hurdle had been locating the bus terminal. In a mixed transit hub, transformed into a maze by virtue of add-on’s and the white canvas-tented construction-impeded walkways, we tried following the path indicated by two dimensional and directionally ambiguous arrows (it always takes me a bit of a figurative leap to understand that an up arrow means forwards). Eventually we arrived at the apparent endpoint– a singular, lonely arrow pointing directly into a construction site.

Wandering back to look for help, we were informed that there must be a way and to try again. Surely people still took the buses after all. We located a second set of arrows – this time passing up a twisting ramp – convolutedly promising until we returned to the same, stark arrow.

Continue reading “white peach, strawberry & pistachio mousse cake”

jasmine lychee coconut mousse cake

lychee jasmine coconut mousse cakes

Much delayed, my flight arrived around 4:30 am, and in a blearily bedraggled state I succumbed to the convenient but costly allure of a taxi – a rare occasion considering the state of my net worth. At that hour the wide-multilane roadways leading into the city were dimly lit and only sparsely populated.

Sitting in cars often induces a trance-like state for me, but I couldn’t help but notice that the road seemed to be going past exceptionally quickly. As the taxi driver turned up the volume of his choral music to be heard over the grind of the taxi and the air came to be perfused with a smell quite reminiscent of burning plastic, I got to experience living life very speedily – in a very literal sense. Glancing at the speedometer, we were persistently 10km/h over the speed limit, coasting entirely unhindered down a nearly empty road.

My sleepiness was replaced with a healthy rise in blood pressure.

It was only as we approached vehicles ahead that we gently slowed, though just as we did so, a white taxi soared by in the adjacent lane. The driver’s discordant humming halted. He began to switch from one to another, weaving between the modestly spaced vehicles as though they were pylons. My healthy rise in blood pressure was not feeling quite so healthy anymore.

The two taxis switched positions – the white car darting ahead of us until it was blocked by a more law-abiding driver in front of them and vice versa — until, while driving neck-to-neck, the other taxi began to slow, a gesture of submission perhaps, or condescension. I was half-certain that this whole “race” was actually a product of coincidences and my overactive imagination until the taxi driver scoffed and flapped his hand grumpily through his window. And thankfully, now lacking an opponent, the taxi driver seemed to lose his passion for racing.

This experience most certainly confirmed that a slow life is most certainly the type of life for me.

lychee jasmine coconut mousse cakes

Note: I began writing this post as one of those mildly interesting encounters that you expand upon with a generous slew of adjectives and from which to derive some (bland, I admit) entertainment. After all, when I had recounted my taxi ride to a few people the next day, they nodded in the way that you do when you hear something familiar. It seemed like the just right amount of relatable.

But I felt guilty that I didn’t ask the driver to slow down – while it was unlikely (it was about as empty as the streets could get, on a large roadway without pedestrians,  minimizing the risk), I couldn’t help but worry about the possibility his speed could contribute to an accident. However, at the time, I was concerned that my request might come across as questioning his competency and perhaps even make the taxi driver push the speed some more. Or, it could also be insensitive as likely taxi drivers face many pressures to reach a destination as fast as possible – whether for customer satisfaction or to have time to pick up another customer to be able to make a living.
I wasn’t planning to put pen to that, until it struck me how quickly I brushed the act of speeding off after speaking to others – it seems that the concept of driving over the speed limit is normalized to us. I then worried that my brushing it off was also brushing off the reality of motor vehicle accidents (MVA).

But after reading a bit more about MVAs, I realized there was a bit more to it than worrying about someone speeding. It’s a multifactorial issue where built environments can play just as much — if not more — of a role as individual behaviours on the road.

In particular, I found the concept of MVAs as a public health problem a very helpful way of thinking about it. While accidents certainly affect enough people to qualify as a health problem, it’s not a concept that has fully imbued our day-to-day view of them. And the thing is that “[w]ord choices matter: By framing preventable traffic deaths and injuries as “accidents,” society engages in a collective shrug, concluding it is not a public health priority.” And this can be particularly frustrating when there are known ways to reduce MVA rates.

Importantly, when conceptualized as a public health problem, this also means shifting our focus from individual action to the systemic and environmental factors that contribute to the potential for accidents. Rather than blaming those that jaywalk (i.e. most of us), it can be more effective to ask why that is happening, and then target the factors that lead to those reckless behaviours (such as the absence of a convenient crosswalk).

As such, one of the most successful policies to reduce MVAs has been the Sweden-initiated Vision Zero, an ambitious approach focused on modifying the environment because “in every situation a person might fail. The road system should not.” The most pragmatic approach it seems is not to depend on everyone on the road to be perfect – while there is a role for enforcement and environments that encourage law-abidingness, perfection is impossible – but to work on the broader environment to help us all stay as safe as possible.

lychee jasmine coconut mousse cakes

This went terribly off track! But at least mousse cakes are most certainly on the slower side of things – and I’m starting to realise there is something calming and methodical about the staggered, multi-day pace, enforced through the need to freeze or chill almost all of the components before the next step.

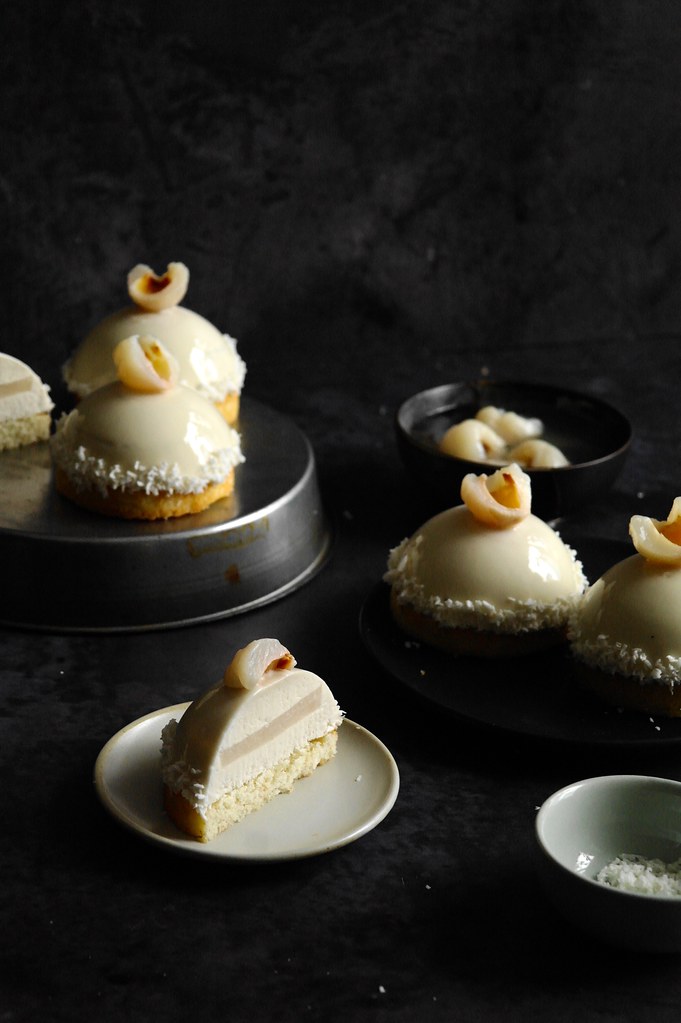
This time around I was excited to put a silicone dome mold to use. I kept the cake quite simple with three components: a coconut financier, a lychee jelly insert, and a jasmine tea mousse. The original recipe has been updated as I’ve gotten more familiar with mousse cake techniques and I love this newest version of the cake! A mild, creamy jasmine mousse, sweet lychee jelly and toasty coconut financier.

lychee jasmine coconut mousse cakes

jasmine lychee coconut mousse cake

  • Servings: five 8cm dome mousse cakes
  • Print

special equipment:

  • 8-cm diameter half sphere silicone molds (5 cavities)
  • 6-cm rings (5)
  • 8-9 cm rings (5)

assembly

  • jasmine mousse – just made
  • frozen lychee jelly insert
  • mirror glaze
  • financier rounds
  • shredded coconut and lychees for garnich

Fill five 8cm silicone dome molds with jasmine mousse, filling them about halfway full. Put the lychee jelly inserts on top. Add more mousse to cover the jelly. The molds will be close to filled but not quite if they are the same size of mine. Freeze completely.

When ready to glaze, have your mirror glaze at the appropriate temperature (94-97C). Remove the cakes and pop out of the mold onto a wire rack. Set the rack over a try to catch excess glaze. Pour the glaze over each cake until covered. Pick up cakes by sliding one (or two – if you have, two makes it a bit easier to move) small offset spatulas below the cakes. It is best to do this before they thaw and while it is still easy to move them. Transfer the cakes to the rounds of coconut financier. To cover up the more ragged edges, pat a bit of shredded coconut along the edges. You can also top with a lychee half as additional garnish. Let thaw completely before serving.
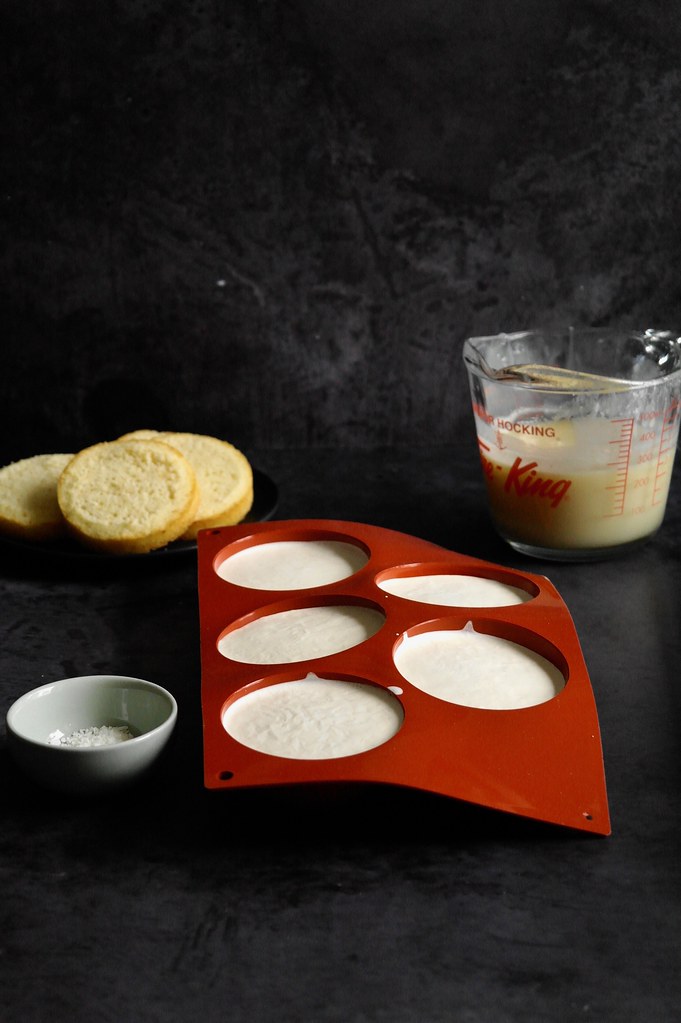
lychee jelly

Makes five 6cm diameter discs of jelly.

  • 100g strained lychee puree (from about 140g drained canned lychees)
  • 1/2 tsp powdered gelatin bloomed in 1 tbsp water

Prepare five 6cm diameter rings. For this, I find it easiest to stretch a small piece of plastic until taut over the bottom of each ring to create a mold (alternatively, you may find it easier to increase the quantity, pour it into a tin, and cut out rounds of jelly instead.)

Melt the bloomed gelatin in the microwave – several seconds is often enough. Whisk into the lychee puree and distribute amongst the rings. Freeze.

To remove from the rings, soak a dish towel in hot water and wrap around a ring for about 10 seconds. Then push out the frozen jelly. Keep the jelly inserts in the freezer until ready to use.

coconut financier

Makes five financier bases. Instead of baking financier bases in individual rings, you can also bake a 1.5X recipe in an 8″/20cm square tin and cut out circles of financier.

  • 100g butter
  • 90g granulated sugar
  • 40g all-purpose flour
  • Pinch salt
  • 60g finely ground desiccated coconut
  • 100g egg whites

Preheat the oven to 425F. Lightly butter the inside of five 8 or 9cm diameter rings (the financiers will shrink a bit in diameter so either size should be fine).

Place the butter in a small pan and heat, stirring occasionally, until the butter melts and the solids toast. Once the solids are a golden brown and the butter is fragrant, remove from the heat.

Whisk together the sugar, flour, salt and ground coconut in a bowl. Make a well in the centre and add the egg whites. Whisk until a smooth batter is formed. Add the warm browned butter in three additions, whisking in each.

Scrape the batter into the prepared pan and spread evenly. Place in the oven, then turn the temperature down to 350F. Bake until browned and an inserted skewer comes out clean, about 20 minutes. Let cool on a wire rack.

Once cool, use a long serrated knife to level off the domed tops of the financiers. Store in an airtight container until use.

jasmine mousse

Based on a standard Bavarian cream ratio

  • 150mL milk
  • 20 jasmine tea pearls
  • 150mL whipping cream
  • 2 egg yolk
  • 1 1/2 tbsp granulated sugar, or more to taste
  • 1 1/2 tsp gelatin bloomed in 1 1/2 tbsp water

Warm the milk until almost boiling, then add 10 of the jasmine tea pearls. Cover, let cool, then put in the fridge to continue steeping overnight. In a separate container, combine the cream (still cold) and the remaining 10 jasmine tea pearls. Place this in the fridge to infuse overnight as well.

The next day, strain the milk into a glass bowl. Whisk in the egg yolks and sugar. Place the bowl over a saucepan of simmering water and cook gently, stirring constantly with a rubber spatula until the mixture is thick enough to coat the back of the spoon and holds a line drawn in it. Bloom the gelatin in 1 tbsp water, then heat in the microwave until melted. Whisk the bloomed gelatin into the custard. Cover and set aside to cool to room temperature, stirring occasionally.

Once the custard has cooled, Strain the cold-infused cream. Whip the cream until stiff. Whisk a dollop of cream into the custard, then fold in the remainder gently. Use soon.

mirror glaze

Adapted from Chef Iso.

  • 9g powdered gelatin + 6 tbsp water to bloom
  • 150g sugar
  • 100g condensed milk
  • 75g water
  • 125g white chocolate, chopped

Bloom gelatin in the 6 tbsp of water. Boil the sugar, condensed milk and 75g water together, then take off the heat and stir in the gelatin until dissolved. Pass through a sieve to remove any lumps, then pour over the white chocolate, allowing it to sit and melt. Then, puree with a fully-immersed immersion blender until smooth – this will avoid the introduction of bubbles.

Let cool until it reaches 90-94F, at which point it is ready to be poured.

Transfer the remaining glaze to a plastic bag, squeeze out all the air and seal tightly. Freeze until you next need it – in the future you just need to reheat it to 90-94C.

Update notes: Updated Dec 2021.