
I’ve been wanting to streamline the process of writing food blog posts for a while – you know, removing the effort of writing as well as any need to think, really. (Previous efforts have included a foiled business attempt and outsourcing to my cousin.) Likely you’ve also heard about the release of ChatGPT, a natural language AI chatbot that is simultaneously both incredible and terrifying. Anyways, it got me thinking… could AI help me write blog posts and save me from ever having to think again?


I thought I would start out with a nice standard blog post – bring in a personal anecdote, perhaps about some childhood memory…
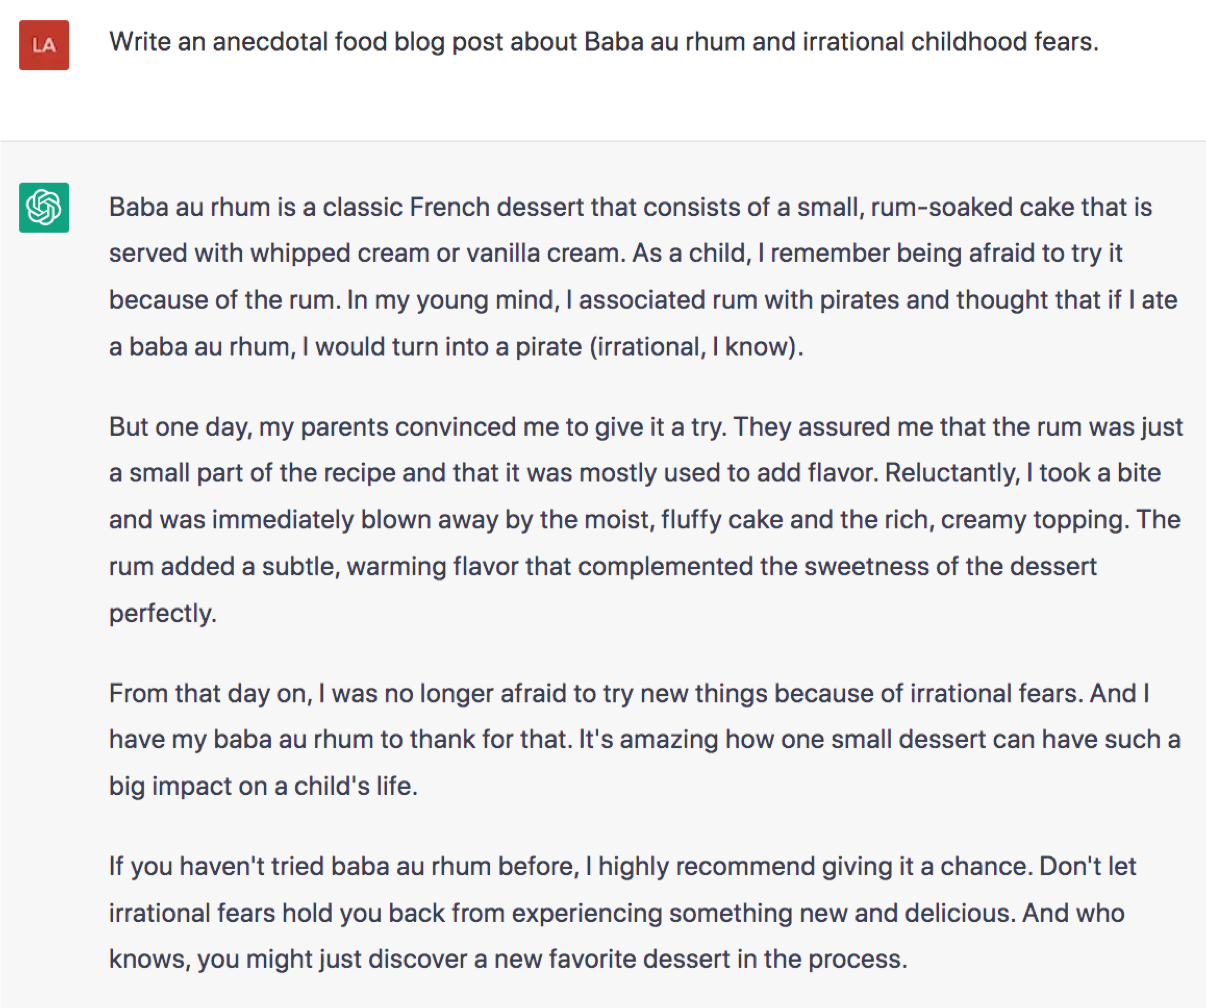
I wasn’t expecting it to make the irrational fear about baba au rhum. But it makes for such a delightful childhood memory!
But I want to be more deep and pensive – without actually having to think of course! Unfortunately I am as shallow as a dry puddle on a very sunny day, but maybe with the help of AI we can change that…

Just lovely. And speaking of poetic, why not poetry?

Not bad! But do you know what I really want to be? Funny. Yes, maybe AI can make me funny…

Well, humour doesn’t come naturally to everyone, something I know firsthand. It’s okay. But at least maybe ChatGPT can help me recruit some star power to promote my recipes?

Mixed feelings on baba au rhum, but at least the combination with persimmons has been approved!
(There are so many other interesting prompts to experiment with! If you’re interested, try asking with detailed prompts. Since it’s in chat form, you can also ask ChatGPT to modify what it wrote in a certain way like style, content, etc (here is a very neat article in that regard). Though when it comes to sharing anything generated by AI, I recommend avoiding reposting anything seemingly factual to prevent the spread of misinformation, or make sure it cannot be taken out of context.)


As much as I enjoyed this (I got a minimal effort blog post out of it, after all!) I also felt pretty unsettled. I know nothing about technology so despite AI already being used in various contexts everywhere, this extremely user-friendly and accessible (for now) tool is my first upfront appreciation of the power of AI.
While GPT-3 far surpasses my imagination and literary talent, the results don’t seem like they’re replacing writers (just yet). I found the writing could be a bit generic by default, though that’s due to my generic prompts. Some of the details had no real basis; in some answers I received, ChatGPT claimed baba au rhum should be dusted with powdered sugar (more sugar??) or drizzled it with honey (more sweetness??). And persimmons are not tangy, Ringo. At one point ChatGPT got hooked on raisins, which sure, can sometimes be in baba au rhum, but then it started to show up in every result. Assuming my rudimentary understanding is correct, this probably reflects how the output is based off of the probability of certain words following each other in the many texts that GPT-3 was trained on – for instance powdered sugar and honey show up in conjunction with dessert garnishes, tangy is a common descriptor for different fruits – rather than particularly knowing anything with accuracy. As such, GPT-3 is known to produce writing that is biased, misinformation and straight up nonsensical.
But still. It’s fast, it’s generative, it can produce infinite variations in response to a prompt, and in natural sounding language. It’s creative(?) maybe? Image generating AI has already won a fine arts competition and has the potential to change art and design industry in ways bad or good.
Whatever all this means, at the very least it means change. Maybe I lean a bit more luddite because that scares me! I’m not ready for writing and art and the concept of authorship to evolve. But I’ll focus on some of the stories of people finding ways for AI to help them in their daily lives – for instance, as a dyslexia aid, or a parent using AI to figure out how to break the news about Santa. And the memes.
Some more interesting articles:
- On AI-generated writing:
- Robo-writers: the rise and risks of language-generating AI (Nature) – an introduction
- Stumbling with their words, some people let AI do the talking (The Washington Post) – another balanced introduction, includes some lovely stories on people using AI to help them in everyday life
- Your creativity won’t save your job from AI (The Atlantic) – oh joy
- I wrote a story about ChatGPT’s AI. Then I dared it to write a better one (The Toronto Star) and Five Remarkable Chats That Will Help You Understand ChatGPT (The Atlantic) – for fun, because at least for now ChatGPT remains part party trick
- ChatGPT Speaks on Disruption and the Future (Surface Mag) – a surreal interview with ChatGPT about ChatGPT
- On AI-generated art:
- He used AI to win a fine-arts competition. Was it cheating? (The Washington Post)
- When AI can make art – what does it mean for creativity? (The Guardian)
- Picture limitless creativity at your fingertips (Wired)
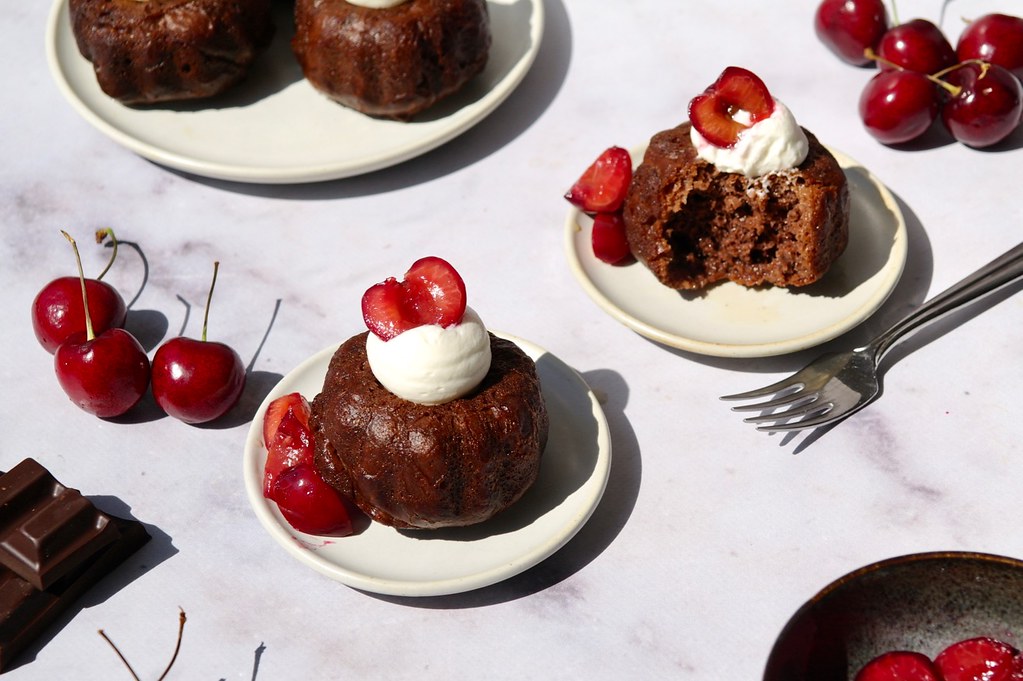
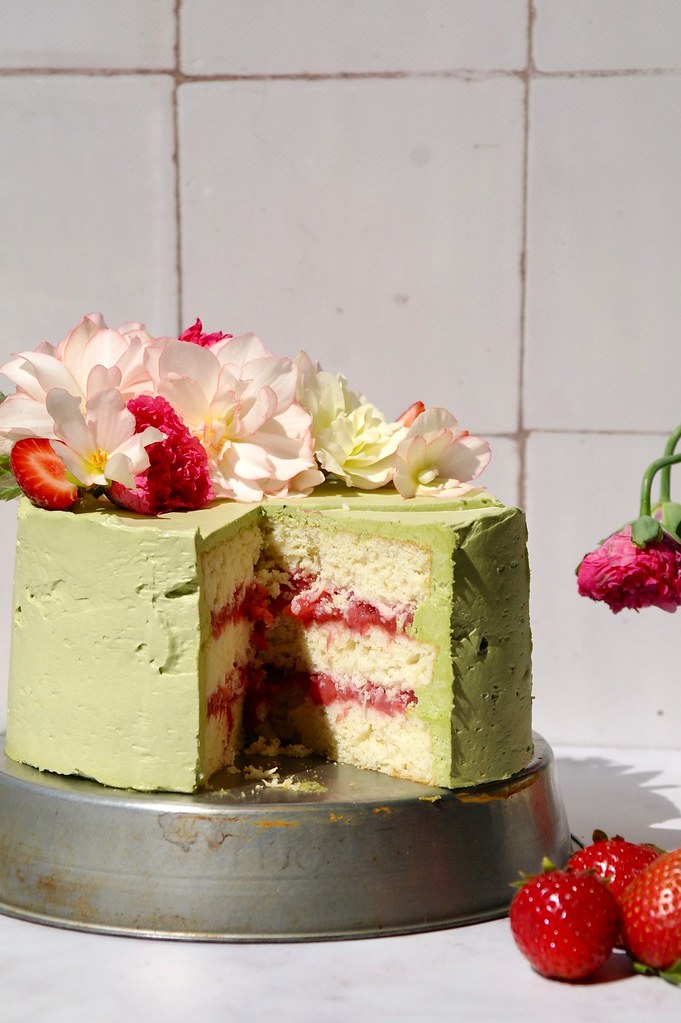
As for the recipe: a take on a classic baba au rhum with a spiced rum syrup and persimmon compote. It’s baba au rhum, but with spices and soft fruit for autumnal vibes! I tend to make baba au rhum with quite a bit of rum (my grandma approves, ok?) but it is very adaptable to your preference. Use more or less rum to taste, and you can even boil the syrup after adding the rum to cook off the alcohol.

spiced baba au rhum with persimmon compote
Adapted from Duchess at Home by Giselle Courteau with a number of changes – and a lot more syrup! Glaze adapted from Chef Iso. Just to be clear, this baba au rhum recipe as written has quite a bit of rum. It is very adjustable, however, to your personal preference – you can use more or less rum in the syrup, and if you boil the syrup after adding the rum, you can cook off the alcohol as well. The glaze adds a bit of shine to the babas, but it’s purely aesthetic and optional.
baba dough
- 1 tbsp (15g) warm water
- 1 scant tsp instant yeast
- 1 large egg
- 1 scant tbsp granulated sugar
- 1/4 tsp kosher salt
- 72g all purpose flour
- 45g soft butter
persimmon compote
- 1 large fuyu (or 2 small) persimmon, peeled and chopped into small dice
- 2 tsp sugar
- 1/2 ts[ vanilla bean paste
spiced rum syrup
- 2 cups of water
- 150g (3/4c) sup of sugar
- 1 cinnamon stick
- 1 slice ginger
- a pinch of whole cloves
- 1 tsp green cardamom pods, cracked
- a pinch of whole allspice (or a sprinkle of ground nutmeg)
- 1/2 cup dark rum, or to taste
glaze (optional – adds a bit of sheen)
- 40g water
- 20g sugar
- squeeze of lemon juice
- 3g pectin
to serve
- unsweetened whipped cream
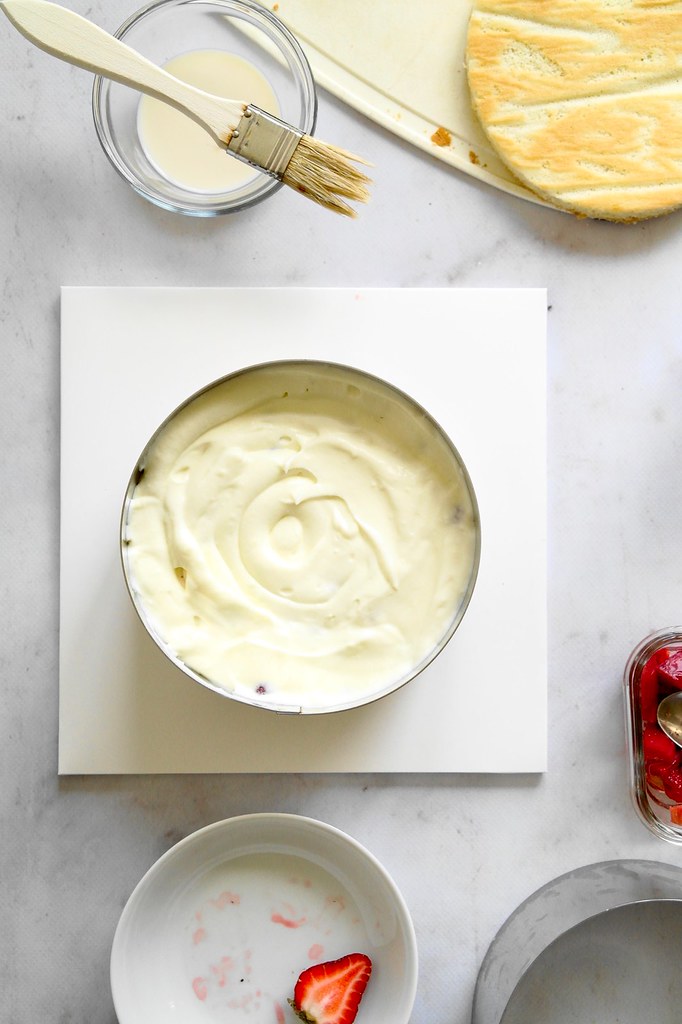
For the babas, begin by dissolving the yeast in the warm water (I like to take this extra step to be careful as I once did have trouble with dissolving the yeast – yes even though it was instant – in this dough). Then add the remaining dough ingredients except for the butter, mixing with a wooden spoon until a very soft and sticky dough is formed. You have a couple options as for how to incorporate the butter. I did a slap and fold method by hands, but you could also use a stand mixer (it just might be a bit challenging due to the small amount of dough).
For working with the dough by hand, scrape the dough out onto the countertop. In order to not incorporate any additional flour you’ll just need to relax and allow the dough to stick to your hands and the counter and everything.
Begin by developing the gluten a bit more. With one hand on either side, pick up the half of the dough closest to you and fold it in half by laying it over the half of dough further from you. Have one hand at the top border of the dough and one hand at the bottom border of the dough and pick up the dough again, turning it 90 degrees so your hands are once again on either side of the dough. (I mean to pick up the dough the best you can – you might be leaving quite a bit of it on the counter.) Then slap it back down on the counter – keep your hands on the dough, stretching the half of the dough towards you so you can fold it in half by laying it over the half of dough furthest from you. Then pick up the dough again and repeat this process of slapping and folding, rotating the dough 90 degrees each time. After a few minutes of this, you’ll be ready to add the butter.
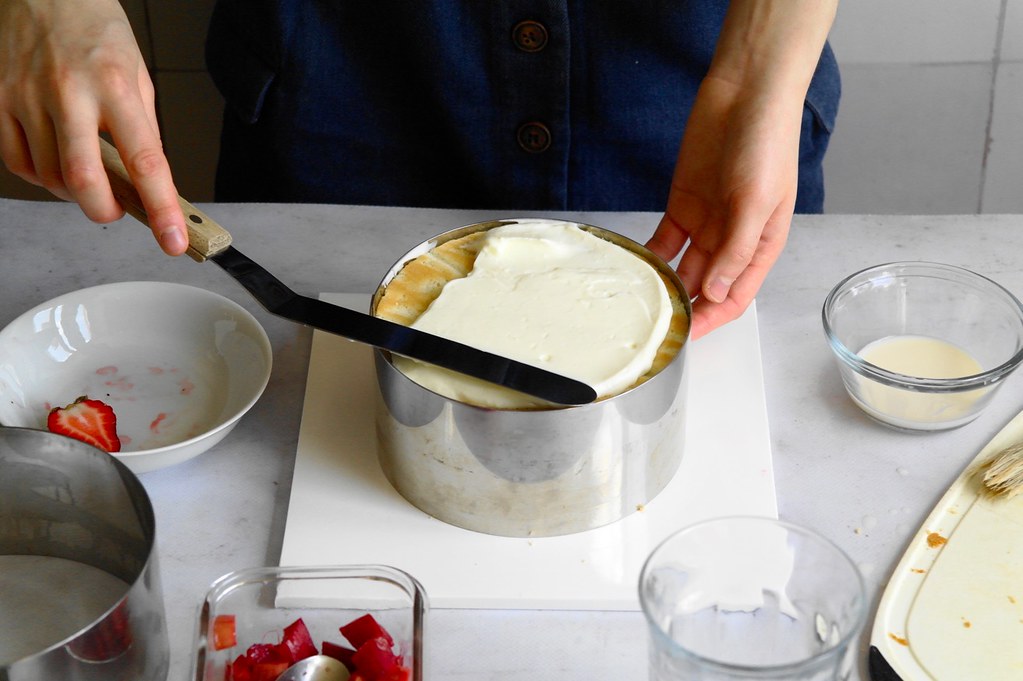
Spread a bit of soft butter on the dough like you’re thickly buttering a piece of toast and then proceed to do the slap and fold technique – eventually the butter will work its way into the dough. Once it is incorporated, spread a bit more butter on the dough and repeat. Continue until all the butter is incorporated.
Scrape the dough off the counter (use a bench scraper if you need to) and transfer the dough to a bowl and let it rest for 15 minutes.
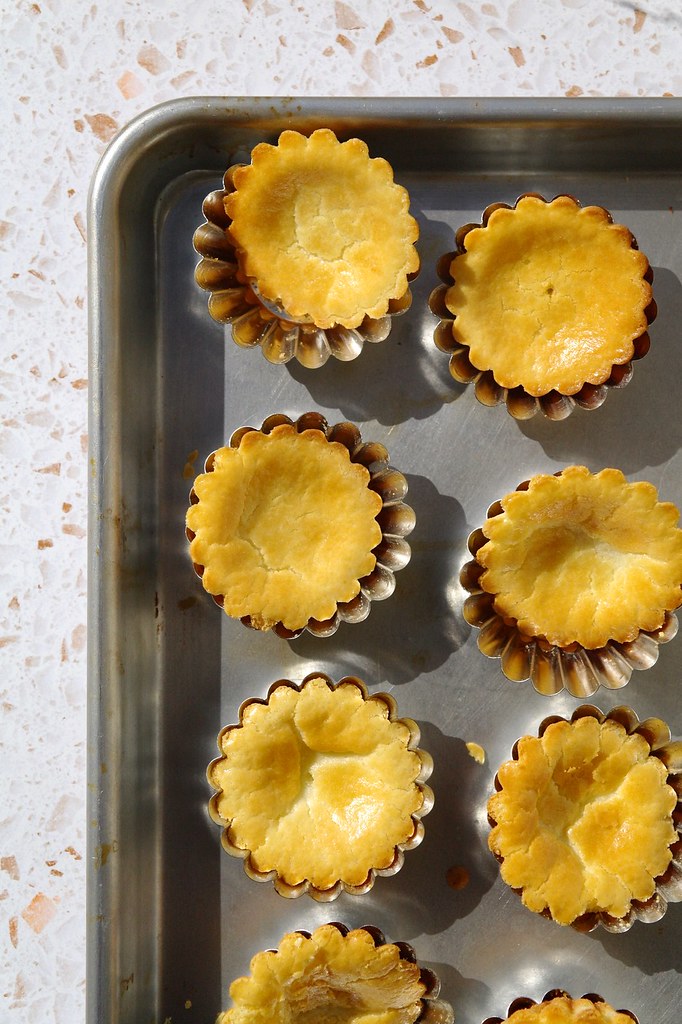
Meanwhile, butter 6 cavities of a small fluted pan (alternatively you could use 4 mini brioche pans).
Then divide the dough into 6 pieces (if I remember correct, each piece was around 27g). Shape each piece into a ball, placing it smooth side down into the fluted cavity. Cover the tray with plastic wrap and allow to rise until puffed and filling out each cavity, around 1 1/2 to 2 hours.
Closer to the end of the rise, heat the oven to 375F. Bake the babas for around 15 minutes or until nicely browned.
Tip the babas out of the pan onto a wire rack. Let the babas cool and leave them out on the counter overnight to dry out; then put them in a container.
For the persimmon compote combine the persimmon, sugar, vanilla bean paste and a tiny splash of water. Warm on the stove top until it comes to bit of a simmer and cook for a few minutes. Once the liquid is syrupy and thick, remove from the heat and set aside in a small bowl.
For the rum syrup, combine the water, sugar and spices in a saucepan and bring to a boil. Turn down the heat to a simmer and let the spices infuse for about 10 minutes. Remove from the heat and stir in the rum. If you prefer the alcohol cooked off, simmer some more, but I think baba au rhum needs the sharpness of the alcohol! Be sure to try and decide based on your preferences.
Dip the babas while the syrup is still warm, but not hot (if you’ve made the syrup ahead of time you can rewarm it). Dip each side of the baba for a minute or so. The babas will swell to about twice their original volume. When you pick up the babas, they will feel heavy. If you feel a hard, unsaturated area still in the baba, leave them for longer.
Set each baba fluted side up on a wire rack set over a tray and allow to drip dry.
For the glaze, Boil the water and sugar together in a small saucepan. Add the lemon juice and pectin and boil for 1 minute. Remove from the heat and let cool until it is warm and more viscous. Use a brush to to dab over the babas.
If you are not eating all the babas right away, you can store them in the fridge and bring them up to room temperature before eating.
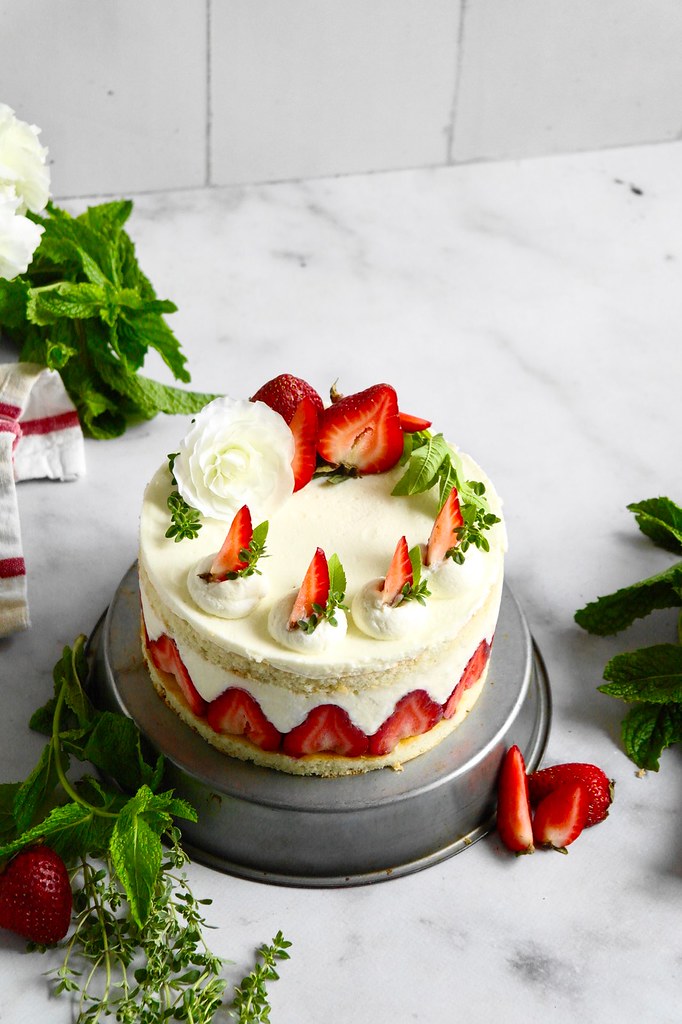
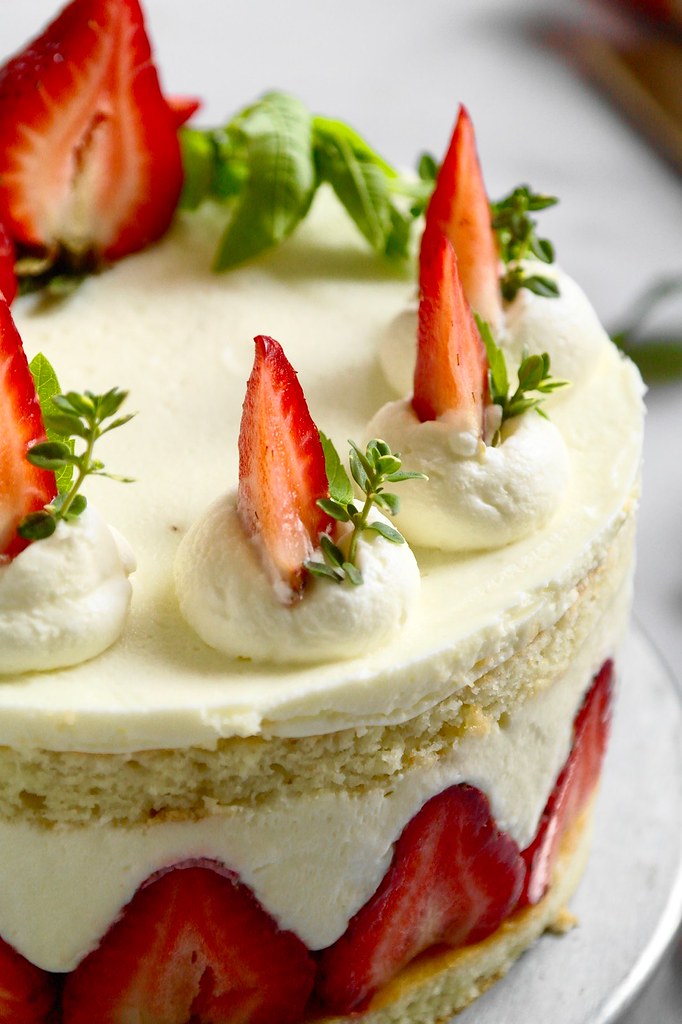
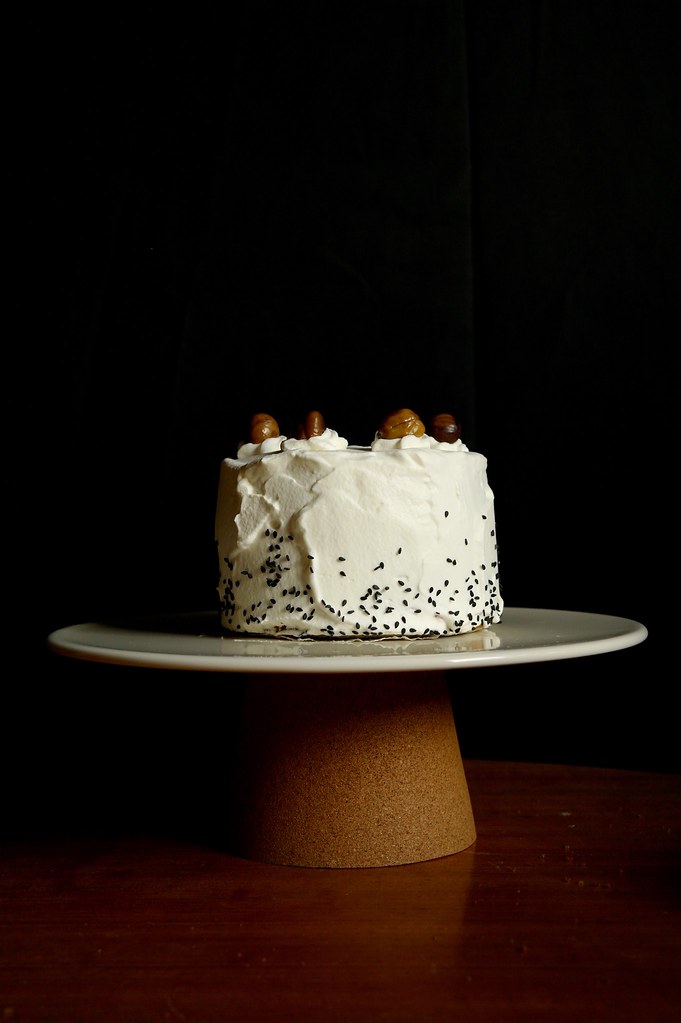
To serve, transfer some unsweetened whipped cream into a piping bag fitted with a star tip and pipe over the babas. Serve with additional whipped cream and persimmon compote.
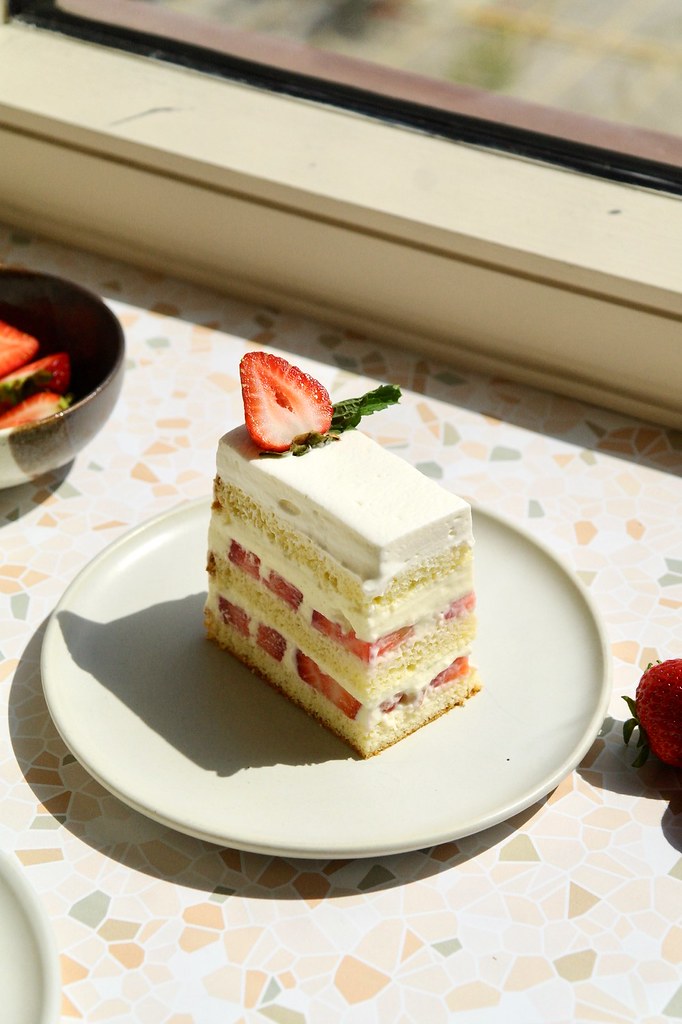
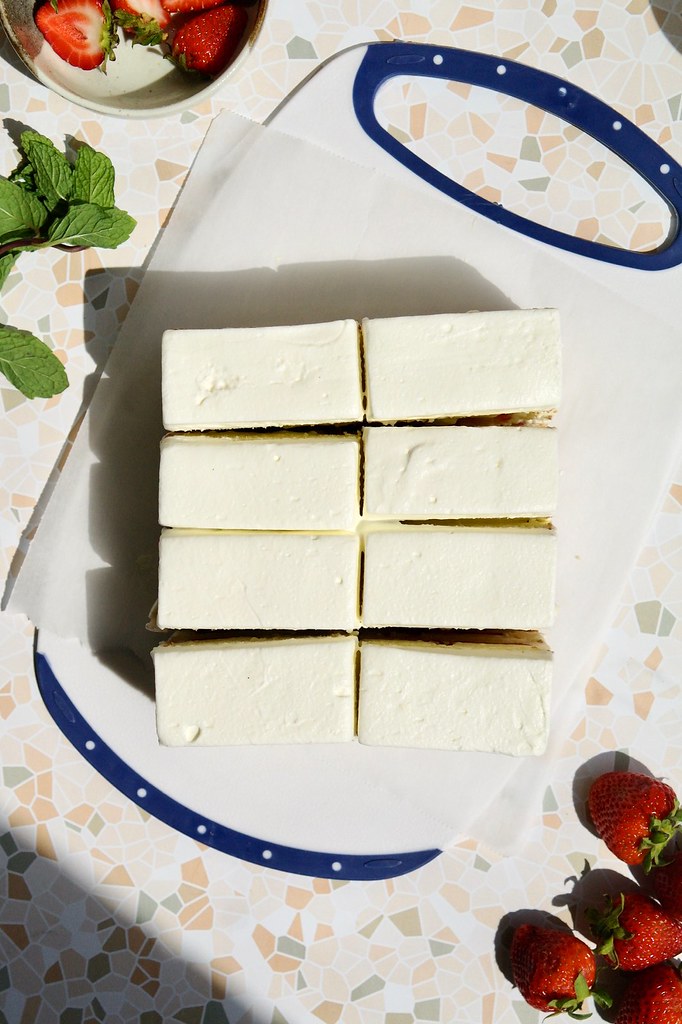
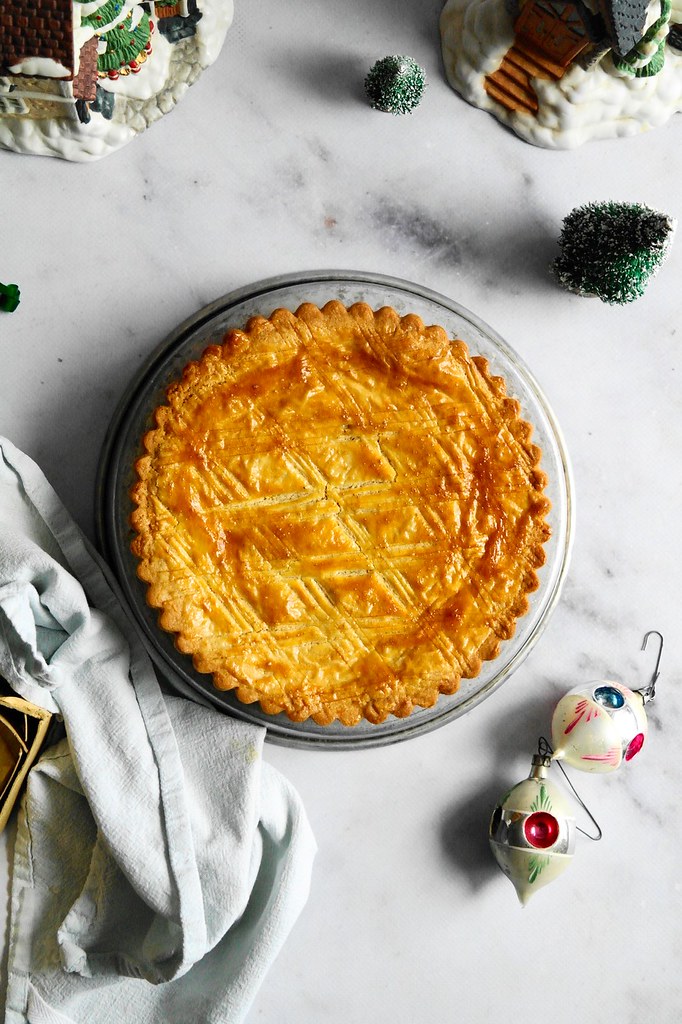
One last question: has AI rendered food photography obsolete? You tell me…